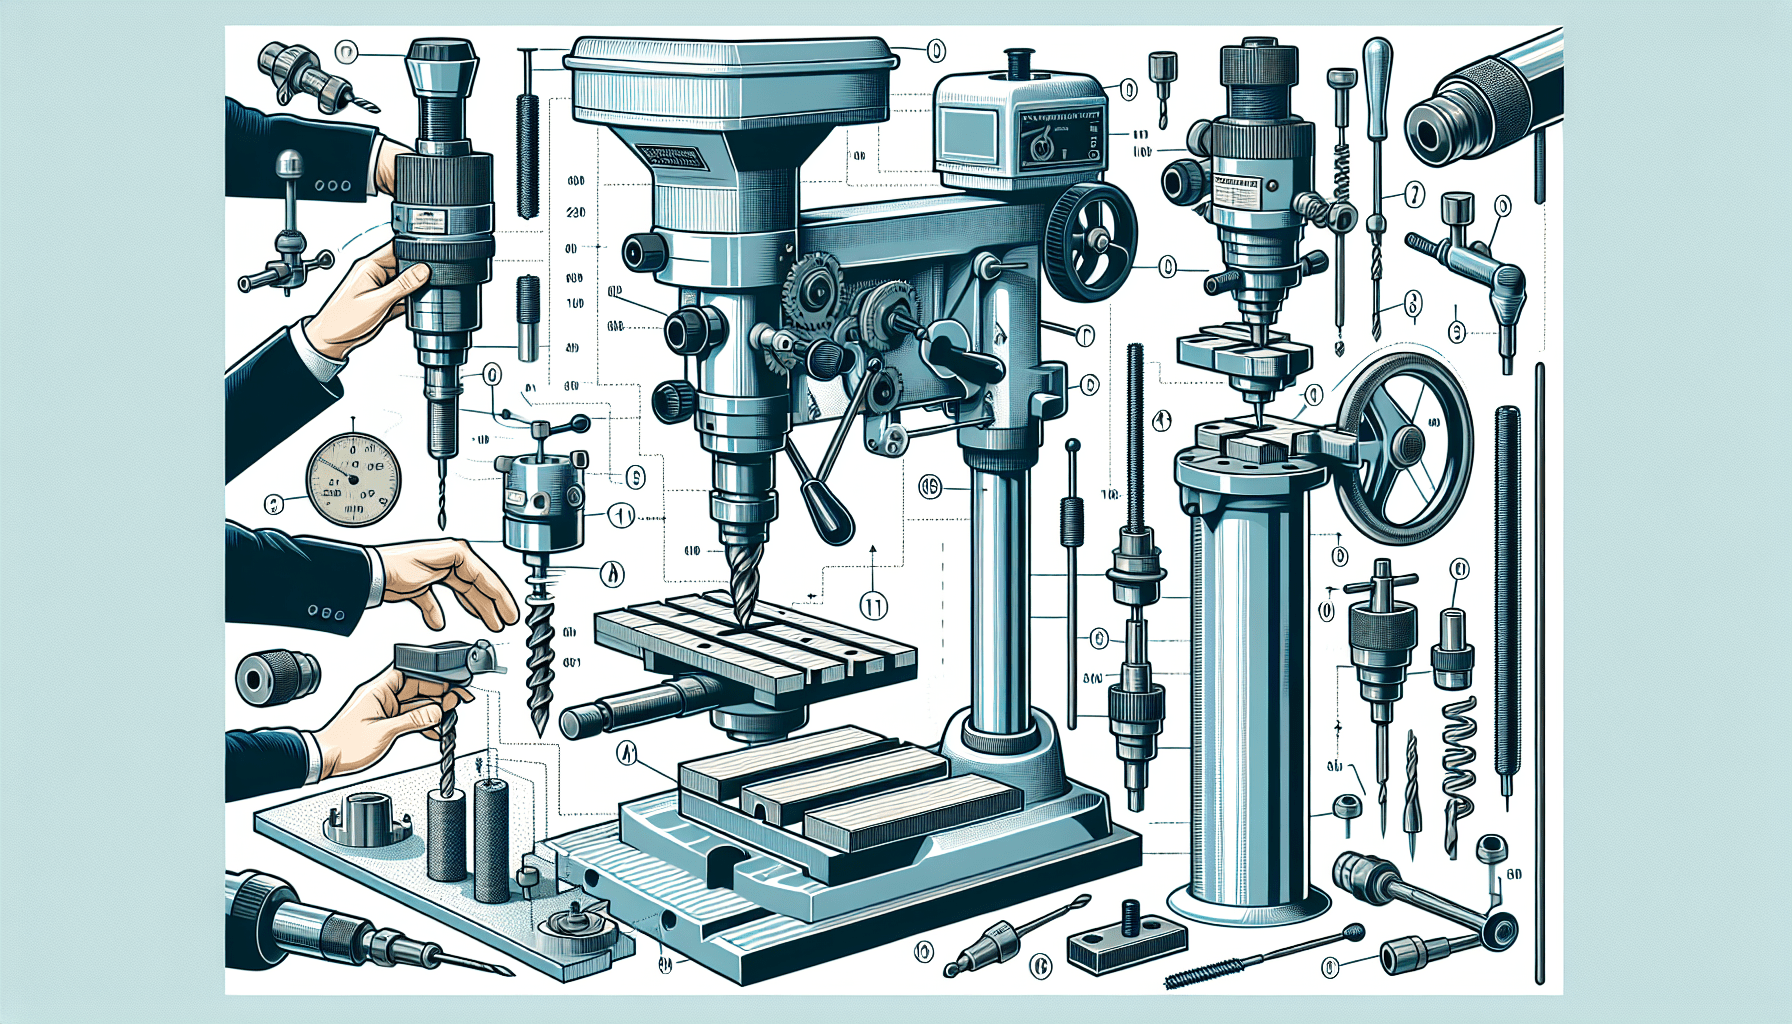
In this article, we will explore the standard operations of a column drill. Have you ever wondered what tasks a column drill can help you accomplish? Well, today we will take a closer look at the common operations that can be performed with this versatile tool. Whether you are a woodworking enthusiast or a professional craftsman, understanding the standard operations of a column drill will undoubtedly enhance your work efficiency and precision. So, let’s waste no time and delve into the world of column drills!

Introduction
In this article, we will discuss the various standard operations that can be performed with a column drill. Whether you are a DIY enthusiast or a professional, understanding these operations will help you make the most out of your drilling projects. From drilling holes to mortising, sanding, and polishing, we will cover each operation in detail, providing you with the necessary information and techniques to achieve great results. So grab your column drill and let’s get started!
Drilling Holes
Setting up the workpiece
Before drilling any holes, it is important to properly set up your workpiece. Ensure that it is securely clamped to avoid any movement during drilling. This will help maintain accuracy and prevent any accidents or damage.
Selecting the appropriate drill bit
Choosing the right drill bit for your project is crucial. Consider the material you are drilling into and select a drill bit that is specifically designed for that material. Different drill bits are made for wood, metal, plastic, and other materials. Using the correct drill bit will ensure clean and precise holes.
Adjusting the drilling speed
To achieve optimal results, adjust the drilling speed according to the material you are drilling into. Higher speeds are usually recommended for softer materials, while lower speeds are better for harder materials. Adjusting the speed will help prevent overheating and prolong the life of your drill bit.
Making the pilot hole
For larger holes, it is a good practice to start with a pilot hole. This smaller hole acts as a guide for the drill bit and helps prevent any wandering or slipping. Use a smaller drill bit to create the pilot hole before proceeding to the desired hole size.
Drilling the hole to the desired depth
When drilling, it is crucial to drill the hole to the desired depth. Measure the depth accurately and mark it on the drill bit or use a depth stop on your column drill. This will ensure consistency and precision in your holes.
Boring Holes
Using different sized drill bits
When boring larger holes or creating holes of various sizes, it is necessary to use different drill bits. Gradually increase the size of the drill bits to achieve the desired hole diameter. Remember to follow the previous steps of securing the workpiece, adjusting the speed, and measuring the depth for each hole.
Securing the workpiece
Similar to drilling holes, it is essential to securely clamp the workpiece when boring holes. This will prevent any movement and ensure accurate and clean holes.
Setting the desired depth
Before boring holes, determine the desired depth and adjust the depth stop on your column drill accordingly. This will help you achieve consistent hole depths throughout your project.
Accurate alignment for precision boring
To ensure precise boring, it is crucial to align the drill bit accurately with your marked drilling points. Take your time to position the drill bit correctly, as any misalignment can result in skewed or uneven holes.
Controlling the feed rate
While boring holes, it is important to control the feed rate, which refers to the speed at which the drill bit enters the material. Gradually feed the drill bit into the workpiece, applying uniform pressure. This will prevent any potential damage to the material or drill bit.
Counterboring Holes
Choosing an appropriate counterbore bit
When counterboring holes, choose a counterbore bit that matches the size of the existing hole. Counterbore bits are designed to create space for the screw head to sit flush with the surface. Ensure the counterbore bit is sharp and in good condition for clean and precise counterbores.
Setting the counterbore depth
Determine the desired depth of the counterbore and adjust the depth stop on your column drill accordingly. This will help you achieve consistent counterbore depths throughout your project.
Aligning the counterbore with the existing hole
Carefully align the counterbore bit with the existing hole and lower it into the material. Ensure that the counterbore is centered and level with the surface to achieve a professional finish.
Drilling the counterbore
Use a steady and controlled drilling motion to create the counterbore. Apply consistent pressure and monitor the depth to achieve the desired result. Take your time and make sure the counterbore is clean and smooth.
Countersinking Holes
Selecting a suitable countersink bit
To create countersunk holes, choose a countersink bit that matches the size and angle of the screw head. Countersink bits typically have a tapering design that allows the screw head to sit flush with the surface. Using the correct countersink bit will give your project a polished and professional appearance.
Determining the countersink depth
Decide the desired depth of the countersink and adjust the depth stop on your column drill accordingly. This will help you achieve consistent countersink depths throughout your project.
Aligning the countersink with the hole
Position the countersink bit over the hole and ensure that it is centered and aligned. It is important to maintain a steady hand and keep the countersink bit level to achieve a clean and symmetrical countersink.
Drilling the countersink
Using a smooth and controlled motion, drill the countersink while applying even pressure. Be cautious not to drill too deep to avoid weakening the material. Aim to create a clean and uniform countersink for a neat finish.
Reaming Holes
Choosing a reamer bit
Reaming holes is done to achieve a precise diameter and smooth finish. Select a reamer bit that matches the desired final hole size. Unlike regular drill bits, reamer bits provide a more accurate and precise cut.
Securing the workpiece
Securely clamp the workpiece to prevent any movement or vibrations. This will help maintain accuracy and avoid any damage during the reaming process.
Aligning the reamer with the existing hole
Carefully align the reamer bit with the existing hole and gradually insert it into the material. Maintain a steady posture and adjust the speed to ensure smooth and controlled reaming.
Reaming the hole to the desired diameter and finish
Apply even pressure as you turn the reamer bit, allowing it to enlarge the existing hole to the desired diameter. Take your time and let the reamer bit do the work to achieve a clean and precise hole with a smooth finish.
Tapping Threads
Selecting the appropriate tap
When tapping threads, it is crucial to select the correct tap size and thread type for your project. Taps come in various sizes and thread patterns, so ensure you have the right tap for the job. Refer to a tap and die chart or consult a professional if needed.
Preparing the hole for tapping
Start by creating a pilot hole slightly smaller than the tap size. This will help guide the tap and prevent any wandering or breakage. Secure the workpiece and position the tap over the hole.
Aligning the tap with the hole
Carefully align the tap with the pilot hole and ensure it is perpendicular to the surface. This will prevent any cross-threading and ensure accurate thread creation.
Engaging the tap and applying proper pressure
As you begin turning the tap, apply light downward pressure to engage the threads. Gradually increase the pressure while maintaining a steady rotational motion. Avoid applying excessive force, as it can damage the tap or the workpiece.
Turning the tap to cut the threads
Continue turning the tap until the threads are cut to the desired depth. Remember to periodically reverse the tap to break any chips or debris, ensuring smooth and clean threads. Take your time and maintain a consistent speed and pressure for high-quality threads.
Mortising
Setting up the workpiece and the mortising bit
Mortising is commonly done for woodworking projects and involves creating rectangular or square recesses. Start by setting up your workpiece and ensuring that it is securely clamped to prevent any movement. Choose a suitable mortising bit for your project, considering the desired size and depth of the mortise.
Securing the workpiece
To achieve precise and accurate mortises, securely clamp the workpiece in place. This will prevent any shifting or vibrations during the mortising process, ensuring clean and professional results.
Adjusting the height and depth of the mortise
Before starting the mortising process, adjust the height and depth of the mortising bit on your column drill. This will allow you to control the final size and depth of the mortise. Consult the manufacturer’s guidelines for your specific mortising bit to ensure proper setup.
Making multiple passes to create the mortise
To create a mortise, make multiple passes with the mortising bit. Gradually increase the depth with each pass until the desired depth is reached. Take your time and maintain a steady and controlled motion to achieve clean and accurate mortises.
Sanding and Polishing
Selecting the appropriate sanding or polishing attachment
After completing the drilling and mortising operations, sanding and polishing can help achieve a smooth and professional finish. Choose the appropriate sanding or polishing attachment for your column drill, considering the material and desired finish.
Securing the workpiece
Once again, securely clamp the workpiece before sanding or polishing. This will minimize any movement or vibrations and ensure even sanding or polishing across the surface.
Applying even pressure while sanding or polishing
When sanding or polishing, apply even pressure to the workpiece. Move the sanding or polishing attachment across the surface in a steady and controlled motion. This will help achieve a consistent finish and avoid any unwanted marks or unevenness.
Achieving the desired smoothness and finish
Continue sanding or polishing until you achieve the desired smoothness and finish. Use finer grits for a smoother finish and gradually work your way up to achieve the desired level of polish or shine. Take your time and pay attention to detail for the best results.
Conclusion
By now, you should have a good understanding of the various standard operations that can be performed with a column drill. From drilling holes to mortising, sanding, and polishing, each operation plays a crucial role in achieving professional and precise results. Remember to follow the proper techniques for each operation, such as selecting the appropriate tools, adjusting the speed, securing the workpiece, and maintaining accuracy. With practice and attention to detail, you will be able to take on a wide range of drilling projects and achieve great outcomes. So grab your column drill and get ready to tackle your next project with confidence!