Have you ever wondered what you can do with a column drill? Wonder no more! In this article, we will explore the many practical uses of a column drill. From drilling precise holes in wood and metal to creating smooth and accurate cuts, a column drill is a versatile tool that can be a game-changer for both professionals and DIY enthusiasts. So, whether you’re a seasoned craftsman or just starting your woodworking journey, grab your column drill and get ready to unlock a world of possibilities!
Woodworking
Woodworking is a versatile and rewarding craft that allows you to create beautiful and functional pieces from wood. One of the essential techniques in woodworking is drilling holes. Whether you’re building furniture, cabinets, or even small wooden crafts, drilling holes is crucial for assembling, fastening, and adding decorative elements to your projects.

Drilling Holes
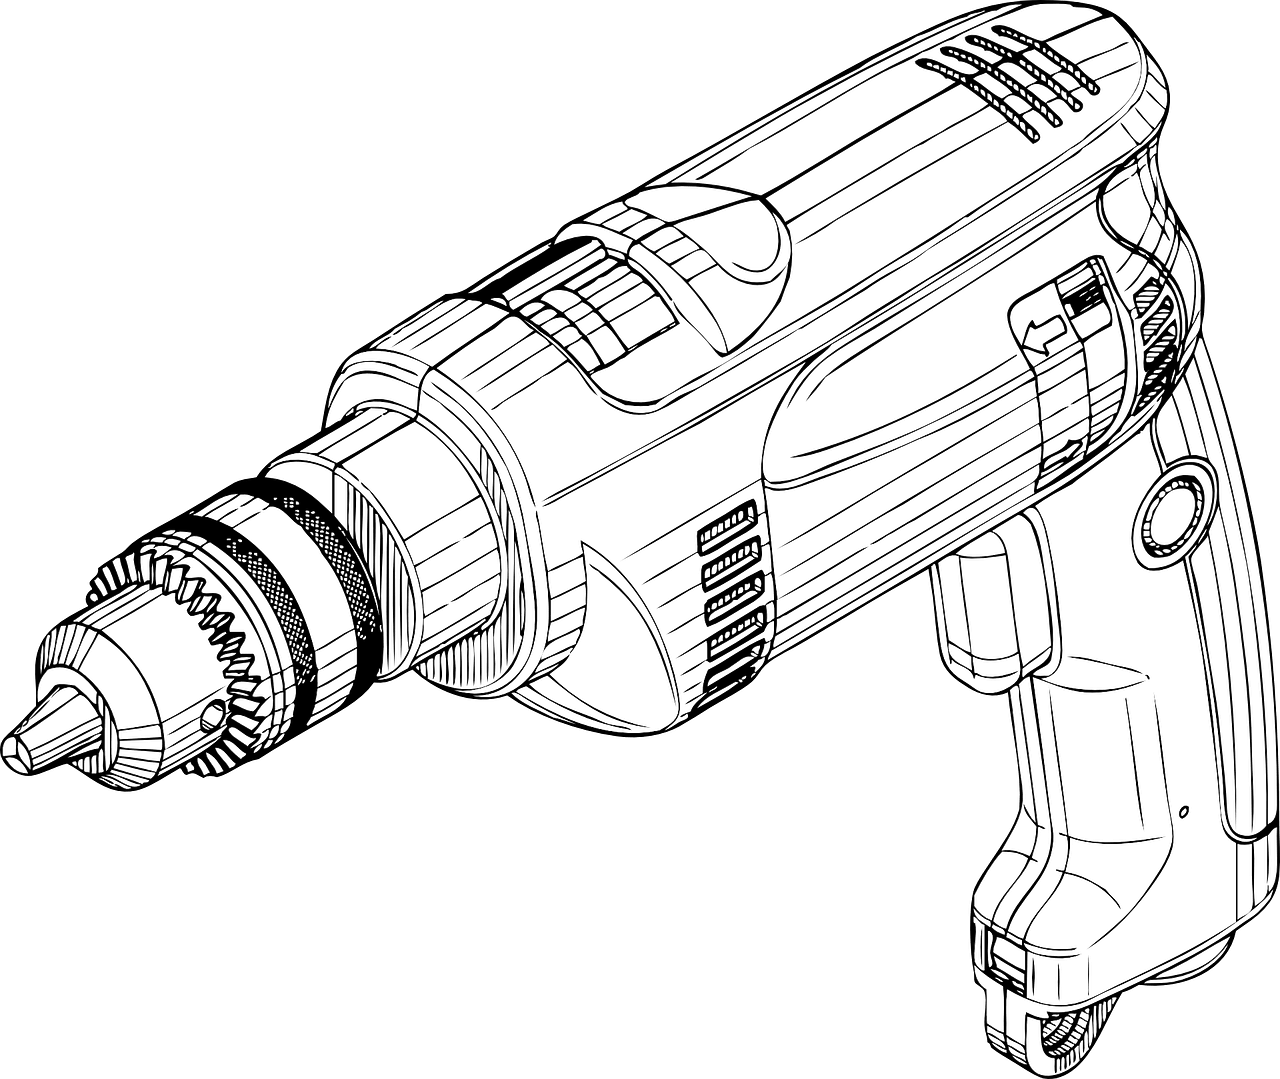
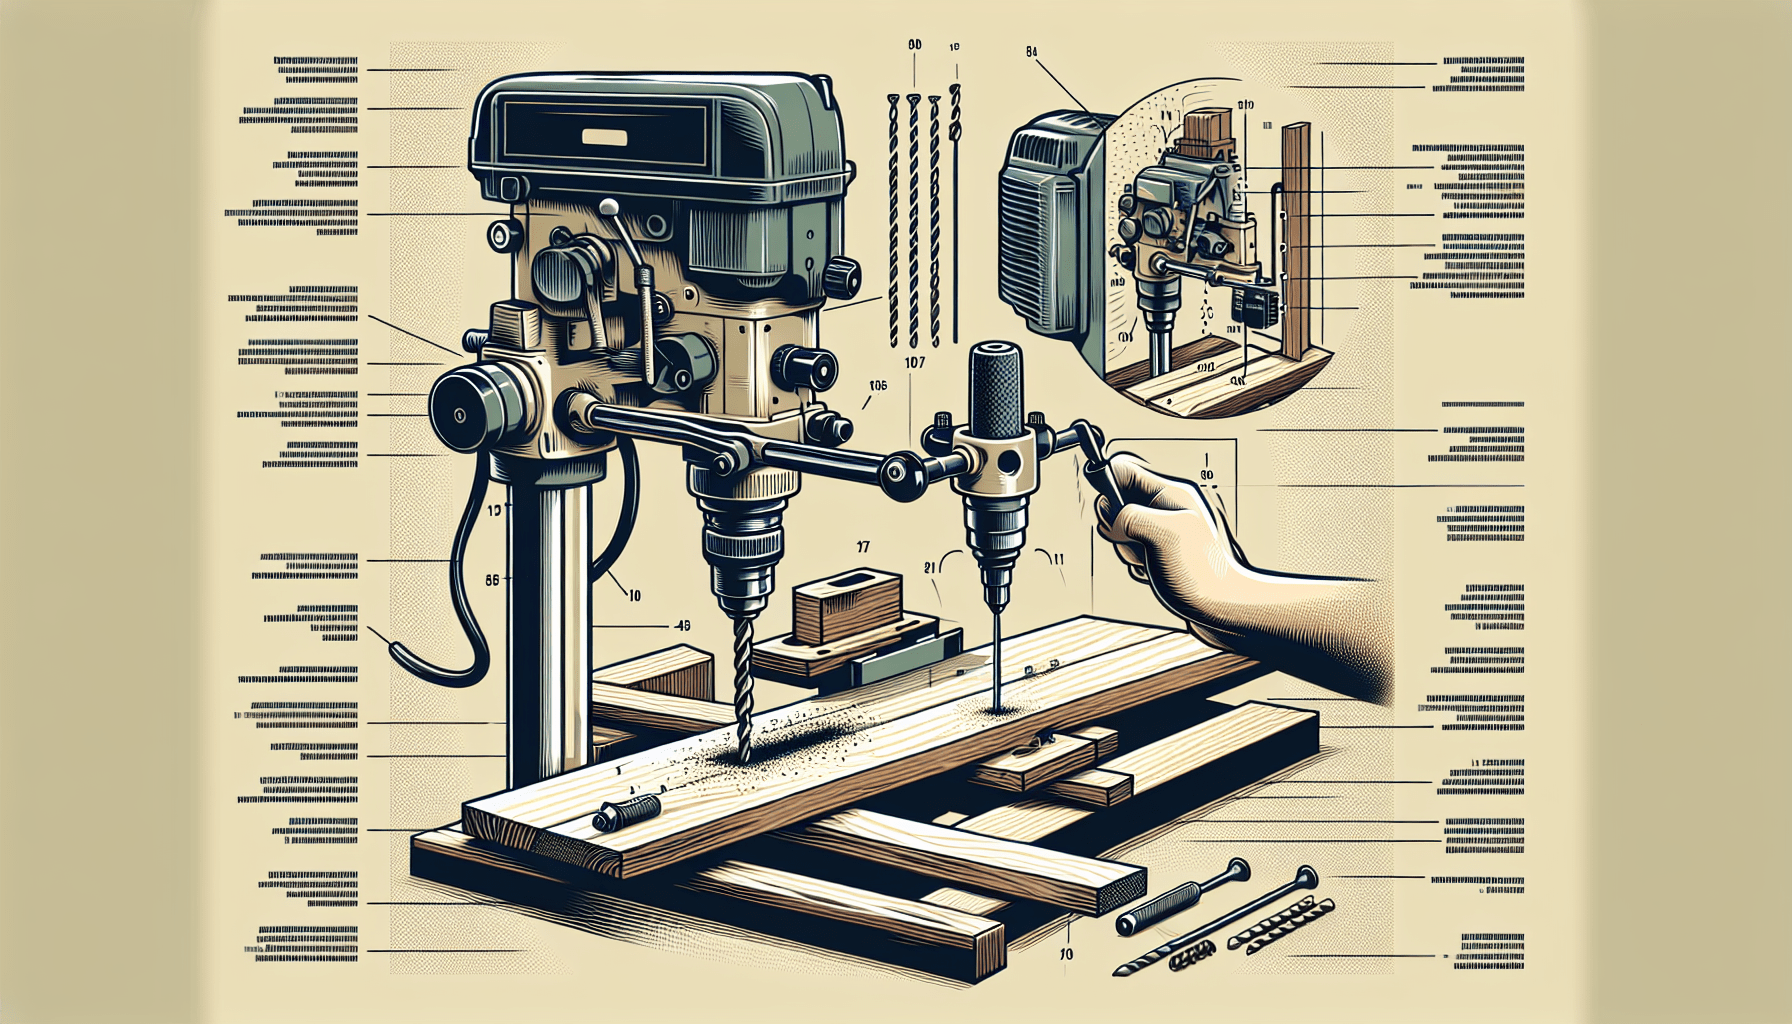
Drilling precise and clean holes in wood is made easy with the help of a drill press or a handheld drill. A drill press, also known as a pillar drill or a bench drill, provides stability and accuracy, making it ideal for woodworking projects that require consistent and straight holes.
To drill a hole in wood, start by marking the desired location of the hole with a pencil or a center punch. This helps prevent the drill bit from wandering when you start drilling. Secure your piece of wood to a stable work surface or clamp it securely to prevent it from moving during drilling.
Next, select the appropriate drill bit for the size of hole you need. Attach the drill bit securely into the drill chuck, making sure it is centered and tightened properly. Adjust the drill press settings, such as speed and depth, according to the wood material and the size of the hole you are drilling.
Position the drill bit over the marked spot on the wood and align it perpendicular to the surface. Gently lower the drill bit onto the wood, applying steady pressure to begin drilling. Let the drill bit do the work and avoid exerting too much force, as it can cause the wood to splinter or the bit to get stuck.
As you drill, periodically lift the drill bit to clear away wood chips and prevent them from clogging the hole. Once you have reached the desired depth, carefully remove the drill bit from the hole and switch off the drill press. Congratulations! You have successfully drilled a hole in wood.
Creating Dowel Joints
Dowel joints are commonly used in woodworking to securely join two pieces of wood together. They provide additional strength and stability to a project, making it possible to create furniture and other wooden structures. To create a dowel joint, you will need to drill holes in the mating pieces of wood.
Start by marking the location of the dowel holes on each piece of wood. Measure and mark the centerline of the joint, ensuring it aligns properly when the pieces are brought together. Use a doweling jig or a self-centering drill bit to ensure accurate hole placement.
Once you have marked the hole positions, secure the wood pieces in place using clamps or a vice. Select a drill bit that matches the diameter of your dowels and attach it to your drill press. Adjust the drill press settings for the desired depth and speed.
Using a drill press offers better control and precision, ensuring that the holes are straight and aligned properly. Position the drill bit at the marked spot on the wood and lower it slowly, applying consistent pressure. Drill the hole to the appropriate depth, making sure not to drill all the way through the wood.
Repeat the process on the mating piece of wood, ensuring that the holes are aligned with each other. Insert dowels into one set of holes and apply glue to the dowels and the edges of the holes. Carefully join the two pieces of wood together, ensuring the dowels fit snugly into the corresponding holes. Wipe away excess glue and let it dry according to the manufacturer’s instructions.

Making Mortises
Mortises are another commonly used woodworking joint that involves creating a cavity or hole in one piece of wood to receive the tenon of another piece. Mortise and tenon joints are known for their strength and are often used in furniture construction to join legs to tabletops or rails to stiles.
To create a mortise, you will need a chisel and a drill. Start by marking the size and location of the mortise on the wood using a pencil or a marking gauge. Clamp the piece of wood securely to prevent it from moving during the process and ensure safety.
Next, use a drill bit slightly larger than the width of the mortise to create a series of overlapping holes within the marked area. This will remove the majority of the waste material and make it easier to chisel out the mortise.
After drilling the holes, use a chisel to remove the remaining material and define the shape and depth of the mortise. Begin by cutting along the marked lines, being careful to maintain clean and straight edges. Gradually remove the waste material by chiseling downward, using a mallet to apply controlled force.
Continue to refine the mortise until it is the desired depth and dimension. Test the fit of the tenon in the mortise, ensuring it is snug but not too tight. Make any necessary adjustments until the joint fits properly.
Creating mortise and tenon joints require practice and patience, but with time, you will master this fundamental woodworking technique. Remember to work slowly and consistently, allowing the tools to do the work and paying attention to detail.
Counterboring and Countersinking
Counterboring and countersinking are techniques used in woodworking to create recessed holes or conical depressions for the screws and bolts used to join pieces of wood. These techniques allow the fastener heads to sit flush with or below the surface of the wood, providing a clean and professional finish.
Counterboring involves drilling a larger hole at the specified location, typically wider and deeper than the screw head or the nut. This allows the screw or bolt head to sit below the surface of the wood, making way for the use of wood plugs or dowels to cover the hole.
To counterbore, mark the desired location for the hole on the wood and choose an appropriate drill bit. The diameter of the counterbore hole should match the size of the screw head or nut. Set the drill bit in the center of the marked spot and drill to the desired depth.
Countersinking, on the other hand, creates a conical depression around the hole, allowing the screw head to sit flush with the wood surface. This technique is commonly used when using flathead screws or when a smooth and even surface is desired.
To countersink, select a countersink bit that matches the size of the screw head. Mark the desired location on the wood and set the countersink bit in the center of the marked spot. Drill gently and at a slow speed, applying even pressure to create a clean and precise conical depression.
When counterboring or countersinking, it is essential to control the depth and angle of the hole to ensure proper fit and alignment. Adjust the drill press settings accordingly to achieve consistent results. Always test the fit of the fasteners before final assembly to ensure a secure and flush connection.
Whether you’re a seasoned woodworker or just starting, mastering these woodworking techniques will open up a world of possibilities for your projects. From drilling holes and creating dowel joints to making mortises and achieving professional finishes with countersinking and counterboring, these skills will enhance the quality and durability of your woodworking creations.